Warning: Undefined array key "style" in /home/u595483593/domains/highlinepropertyroofing.co.uk/public_html/wp-content/themes/pearl/partials/header/elements/menu/menu.php on line 79
Warning: Undefined array key "style" in /home/u595483593/domains/highlinepropertyroofing.co.uk/public_html/wp-content/themes/pearl/partials/header/elements/menu/menu.php on line 90
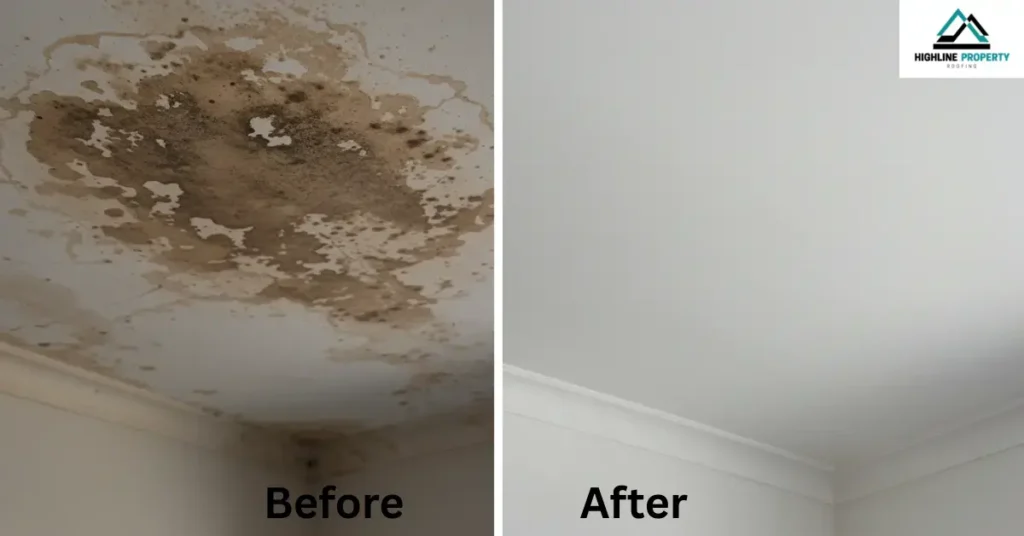
How To Get Rid Of Water Stains On Ceiling?

Water stains on ceilings aren’t just aesthetically unappealing; they often indicate a leak or moisture issue behind them. You can use DIY methods to remove water stains from the ceiling using everyday items like vinegar, bleach, baking soda, and even paint. Just follow the instructions, and you’ll be able to clean up the stain and make your ceiling look fresh again, all by yourself.
What Causes Water Stains On Ceiling?
Water stains on ceilings usually happen when water leaks or builds up over time and seeps through the ceiling material. Once the water dries, it leaves behind yellowish stains, brown spots, or faint watermarks.
Here are the most common causes:
- Roof leaks: Damaged or missing shingles can allow rainwater to enter.
- Plumbing leaks: Pipes running through ceilings can drip or burst.
- Condensation: Poor attic ventilation or insulation can cause moisture to build up.
- Overflowing gutters: When gutters are clogged, water can seep into the ceiling edges.
- AC or HVAC issues: Faulty air conditioning units or ducts can leak into the ceilings.
Even a small leak can leave a watermark on the ceiling, and if not fixed, it can turn into a bigger problem. That’s why it’s important to clean the stain only after making sure the leak is fully fixed.
How To Get Rid Of Water Stains On Ceiling?
You can remove these stains yourself using simple household items like vinegar, bleach, baking soda, and more. Here’s exactly how to remove water stain from ceiling using each method. Just follow the steps below for whichever cleaning solution you choose.
What Materials and Tools You’ll Need
- Spray bottle
- Warm water
- Soft sponge or microfiber cloth
- Gloves
- Goggles
- Mask (optional)
- Small bowl
- Spoon or small spatula
- Stain-blocking primer (oil-based or shellac-based)
- Ceiling paint (flat or matte finish to match your ceiling)
- Paint roller or brush
- Ladder or sturdy stool
- White distilled vinegar
- Bleach (regular liquid bleach)
- Baking soda
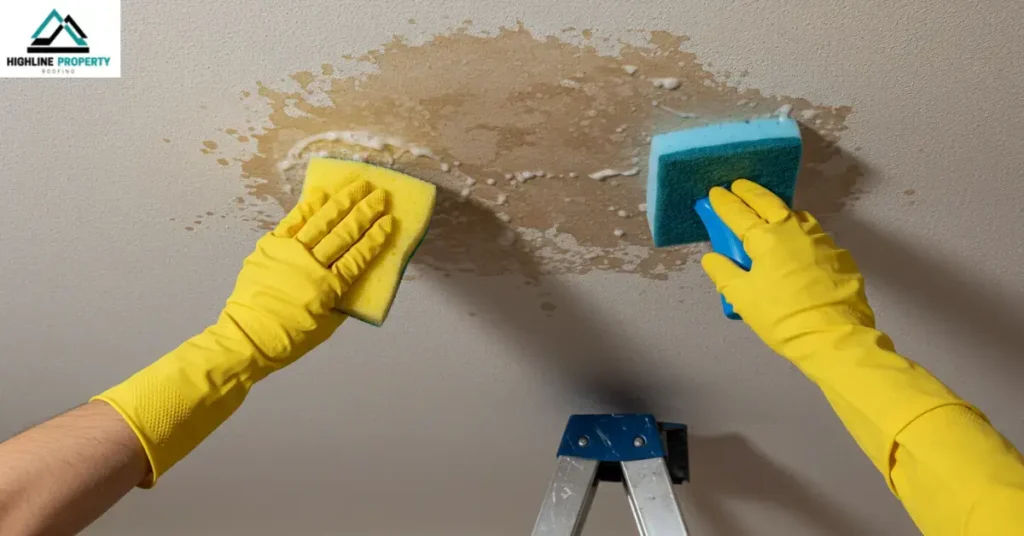
Method 1: Vinegar Solution
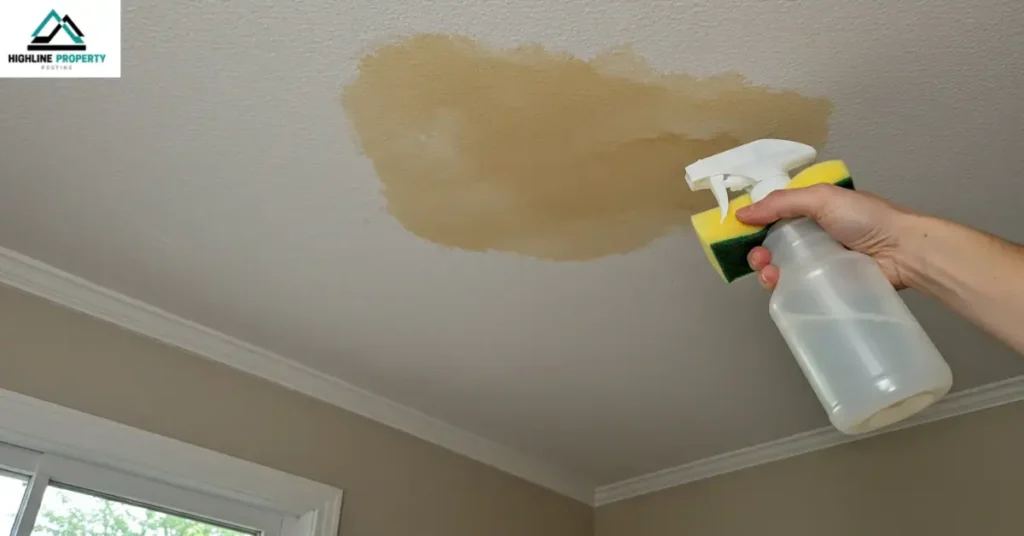
Using white vinegar is one of the safest and easiest ways to treat a yellowish stain on ceiling. This method is excellent if you’re looking to remove water stains from the ceiling in bathrooms or kitchens where moisture is common. To make the solution:
- Combine equal parts of white vinegar and warm water in a spray bottle. (1:1 ratio)
- Spray the affected area where you see the yellow spots on ceiling.
- Allow the solution to soak in for 10–15 minutes to break down the stain.
- Use a soft sponge or microfiber cloth to gently scrub the stain in a circular motion.
- If the stain is still visible, spray again and repeat the process.
- Allow the ceiling to air dry completely. You can use a fan to speed it up.
Method 2: Bleach Solution
For darker or stubborn stains like a brown water stain on ceiling, bleach is very effective. It’s also a good option if you’re trying to treat any mould growth along with the stain. Always use bleach in a well ventilated space. To make the solution:
- Mix 1 part bleach with 3 parts water in a spray bottle.
- Wear gloves, goggles, and a mask to protect yourself from fumes and skin contact.
- Spray the bleach solution directly onto the water stain. Avoid soaking the ceiling; just damp it.
- Allow it to sit for about 10–15 minutes.
- Use a clean sponge or cloth to wipe away the solution and any lifted stain.
- If you want to avoid a bleach smell, wipe the area with a damp cloth soaked in clean water.
- Allow the ceiling to dry completely before inspecting the final result.
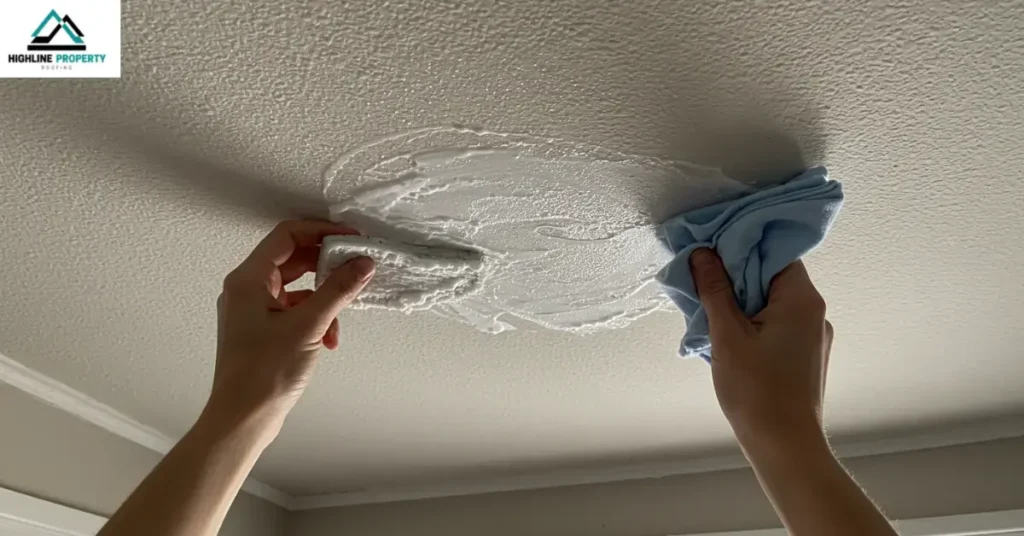
Method 3: Baking Soda Paste
If you prefer a non-chemical method to remove water stains on the ceiling, baking soda is a gentle yet effective solution, especially for those sensitive to bleach or vinegar. To make the mixture:
- Mix baking soda with water in a bowl until it forms a thick paste (approximately 3 tablespoons of baking soda and a few drops of water).
- Use a spoon or your fingers (with gloves), and apply the paste directly onto the stained area.
- Allow the paste to sit on the stain for 20–30 minutes. It will gradually remove the discolouration.
- Use a soft brush or sponge to lightly scrub the paste into the ceiling in circular motions.
- Then use a damp cloth to wipe away the paste completely.
- Let the ceiling air dry to check if the stain has faded.
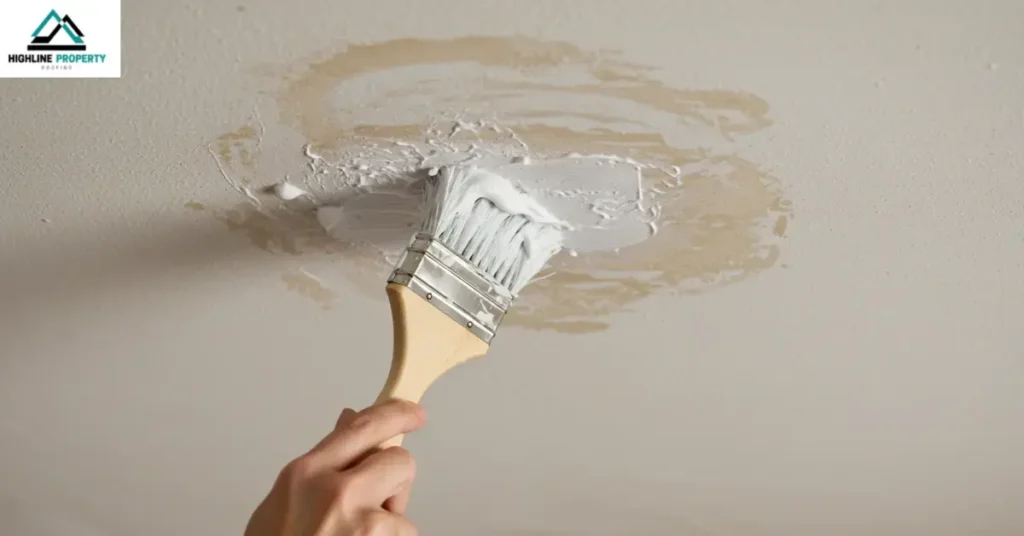
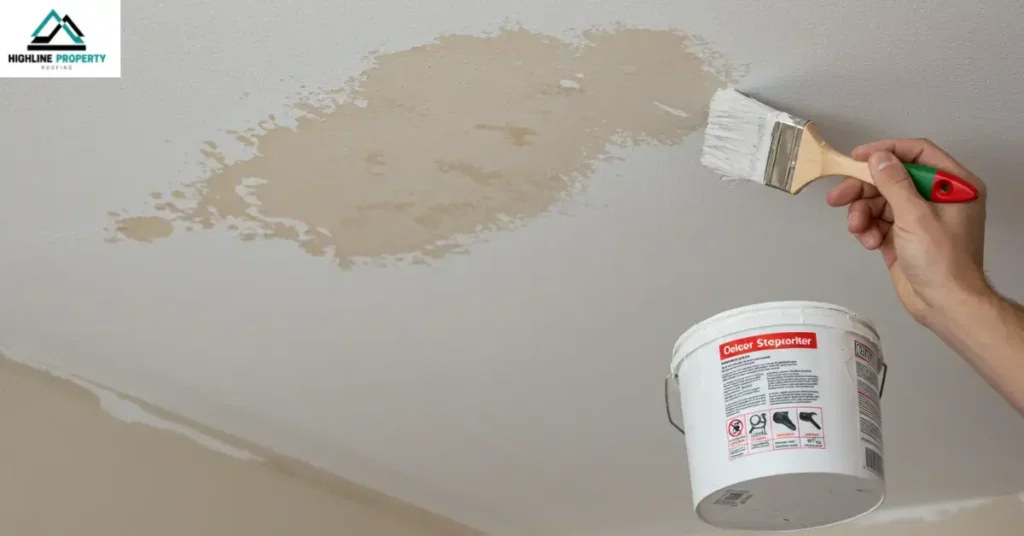
Method 4: Paint Over the Water Stain (When Cleaning Doesn’t Work)
Painting is the best way to cover watermarks on ceiling and make the surface look like new again.
- Clean the surface first. Even if the stain is still visible, wipe away dust and dirt using a damp cloth. Let it dry completely.
- Then, apply a stain-blocking primer directly over the water spots on ceiling. Regular paint won’t stop the watermark on ceiling from showing through later.
- Allow the primer to dry according to the instructions (typically a few hours).
- Paint over the primed area with ceiling paint. Use a roller for large spots and a brush for edges.
- Let it dry and apply a second coat if needed to blend with the rest of the ceiling fully.
When to Call a Professional?
If you’ve tried these cleaning methods and the water stain on your ceiling still won’t go away, it is time to get professional roofers’ help. Here’s when it’s best to call a professional:
- Large stains: If the water stain covers a big area or keeps getting worse, it could mean there’s serious damage behind the ceiling.
- Recurring leaks: If the stain keeps coming back even after cleaning, there’s likely an ongoing leak that needs proper repair.
- Sagging ceiling: A soft, drooping, or sagging ceiling is a warning sign that water has soaked into the material. This can be hazardous and requires immediate attention.
A professional can inspect the damage, fix the leak, and repaint the ceiling to make it look new again. Hiring a professional usually costs between $150 to $500, depending on the size of the stain and the work needed. If you’re unsure or the ceiling looks unsafe, it’s always better to let an expert handle it before it turns into a bigger problem.
For free advice and a consultation, contact expert roofers Brighton. Whether it’s a small repair or a full roof replacement, they have you covered.
Conclusion
Removing water stains from the ceiling doesn’t have to be complicated. Whether you’re dealing with a yellow spot, a watermark, or a brown water stain on your ceiling, these four DIY methods provide everything you need to handle it yourself.
From natural cleaners like vinegar and baking soda, to painting over the stain when nothing else works, you’ve got solutions for every situation. Just follow the steps, be patient with stubborn stains, and you’ll have a clean and fresh ceiling in no time.
FAQs
What is the best paint to cover water stains on ceiling?
Use an oil-based or shellac-based stain-blocking primer, followed by a flat or matte ceiling paint that matches your ceiling. This combination provides the best coverage and blend.
Is bleach safe to use on ceiling stains?
Yes, bleach is effective for removing tough water stains and mould. Just make sure to dilute it, wear protective gear, and ensure proper ventilation while using it.
Can I paint over water stain on ceiling?
Yes, you can paint over a water stain, but it’s important to use a stain-blocking primer first. This prevents the stain from showing through the new paint.
Can water stains come back after cleaning?
Yes, if the source of the leak isn’t fixed, the stain can return. Always make sure the ceiling is fully dry and the leak is resolved before cleaning or painting.