How To Install Metal Roofing?

Installing a metal roof is a smart choice if you want a long-lasting, weather-resistant, and energy-efficient roofing option. While it may seem like a difficult task, it gets much easier when you break it down into simple steps.
To make the process easy for you, we’ve shared step-by-step instructions on how to install metal roofing. From measuring your roof to finishing with flashing, each step is written in a way that’s easy to follow, even if you’re doing it for the first time.
Gather the Right Materials and Tools
Before the installation process, gather all the materials and tools. The materials needed for metal roofing depend on your roof size and design, but generally, you’ll need:
Materials:
- Metal roofing panels (steel, aluminum, or copper)
- Metal or wood screws with rubber washers
- Roof underlayment (felt or synthetic)
- Drip edge
- Closure strips
- Ridge caps and flashing
- Sealant and caulk
Tools:
- Measuring tape
- Metal snips
- Screw gun
- Chalk line
- Ladder or scaffolding
- Safety harness and gloves
How To Install Metal Roofing? Step by Step Guide
Whether you’re doing a DIY project or hiring a professional roofers, understanding the full process of a metal roof installation can help you avoid mistakes and save money. So, here are step-by-step instructions:
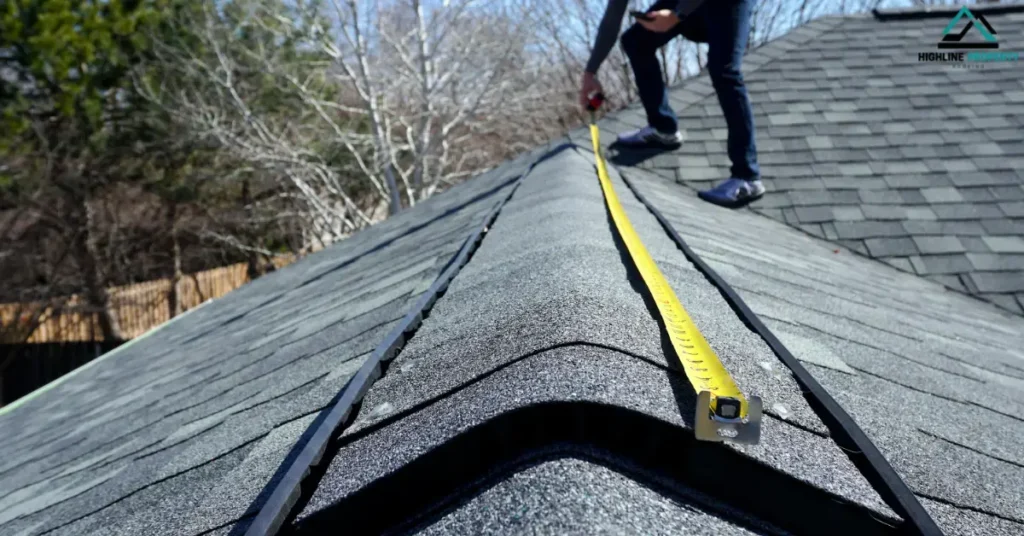
Step 1: Take a Measurement of the Roof
Before you begin installing a metal roof, the first thing you need to do is measure your roof properly. Start by measuring the length and width of each section of your roof. For example, if one side is 20 feet long and 15 feet wide, multiply those numbers to get 300 square feet. Do the same for all sections and then add them together to get the total square feet of your roof. Always add about 10% extra to your final number. This covers waste, cutting errors, and overlaps that naturally happen during installation.
Metal roofing panels are usually 36 inches wide (3 feet). To find out how many panels you’ll need, divide the total width of your roof (in feet) by 3. This will give you a good estimate of how many panels are required for each row. Taking accurate measurements helps you plan better, order the right amount of material, and avoid costly mistakes.
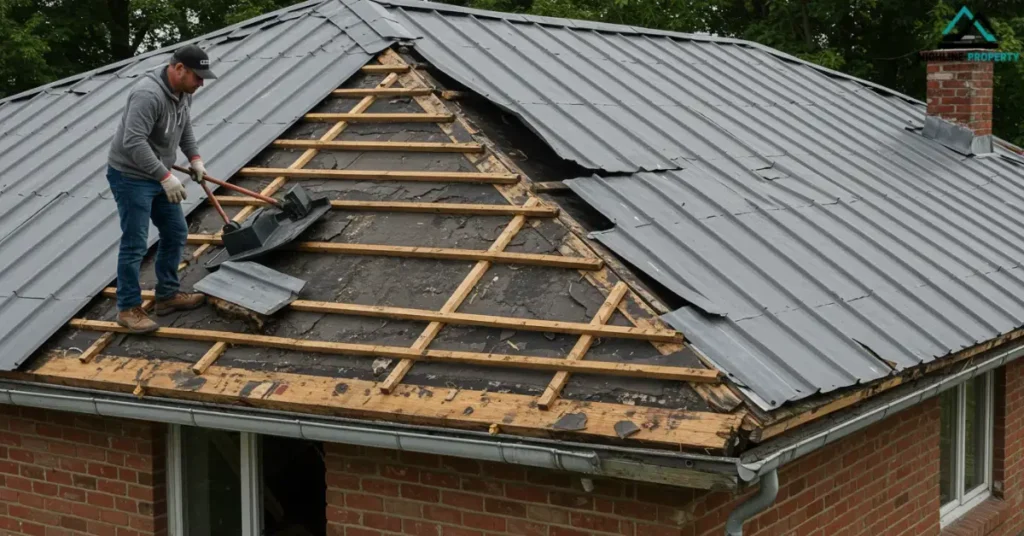
Step 2: Remove Old Roofing
If you’re replacing an old roof, the next step is to remove the existing shingles or roofing material. While some people install metal roofing over old shingles, starting fresh is usually better. Removing the old roof gives you a clean surface, which helps your new metal roof last longer and perform better.
As you remove the shingles, check the wood underneath. Look for any signs of rot, mold, or damage. If you spot soft or weak areas, replace those wood sections before you proceed. Starting with a clean and strong surface makes the whole installation smoother and helps avoid problems later on. which is especially important in assisted living facilities, where safety and functionality are essential
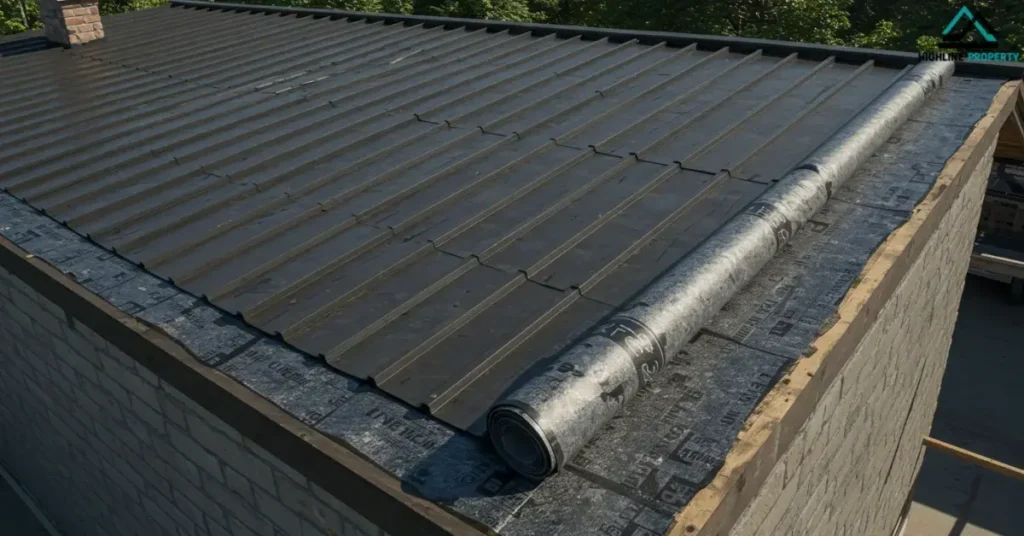
Step 3: Now Install Underlayment
Once your roof is clean and solid, the next step is to install the underlayment. This layer works like a shield that protects your roof from moisture, leaks, and water damage, especially during heavy rain or snow.
Roll the underlayment out evenly across the entire surface. Make sure each row overlaps the next by at least six inches so water can’t sneak through the gaps. Secure it firmly with roofing nails or staples.
Pay extra attention to valleys, edges, chimneys, and vents; these are the common spots where leaks happen. Use flashing tape or an extra waterproof layer in those areas for extra protection. A well-installed underlayment underneath the metal panels keeps your roof safe and dry.
Step 4: Install Drip Edge and Closure Strips
Before placing the metal panels, it’s important to install the drip edge along all roof edges. This is a thin metal strip that helps guide rainwater off the roof and into the gutters, instead of letting it seep under the roofing material. It’s a small step, but it makes a big difference in preventing water damage over time.
Nail the drip edge firmly along the eaves and rakes of the roof, overlapping each piece slightly to avoid gaps. After that, add closure strips, foam or rubber strips that fit under the metal panels. These seal off any openings and stop wind, water, and pests from getting in. They also support the panels and help keep everything secure. This step makes sure your metal roof is tightly sealed and ready for long-lasting protection.

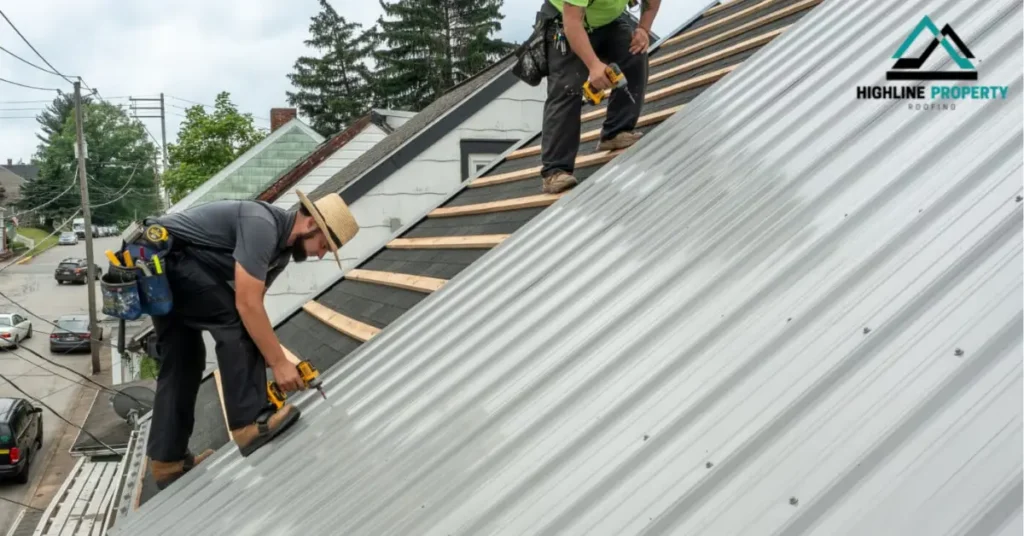
Step 5: Install Metal Panels
Now it’s time to install metal roof panels. Start at the bottom corner of the roof, typically on the left side, and work your way across and upward. Position the first panel so it’s straight, flush with the edge, and overhangs the eaves slightly to help with water runoff.
Secure the panel using roofing screws every 12 to 18 inches along the flat part of the metal (not the raised ridges). This helps the panel sit flat and avoids creating gaps where water could get in. As you move to the next panel, overlap it with the previous one according to the manufacturer’s instructions, usually by a few inches.
Tip: Don’t overtighten the screws. Tightening too much can distort the metal, crack the washers, and actually create spots for water to leak in.
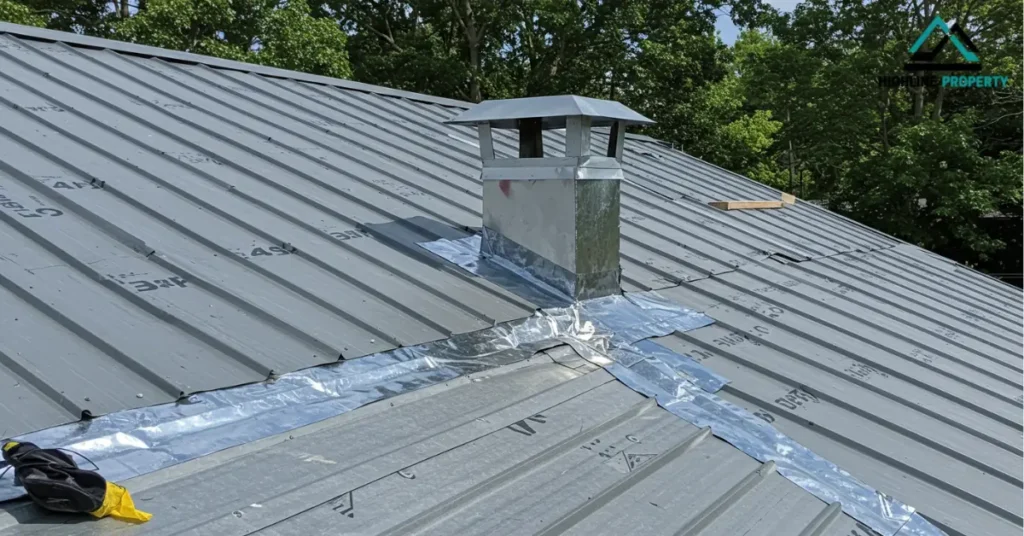
Step 6: Add Flashing and Ridge Caps
After your metal panels are in place, it’s time to seal up the unsafe areas with flashing. Flashing is a thin piece of metal that goes around chimneys, vents, skylights, and spots where two roof sections meet. These areas are common leak points, so flashing is necessary to keep water out.
Use metal snips to cut and shape the flashing to fit tightly around any openings. Once positioned correctly, seal the edges with a high-quality roofing sealant or caulk to prevent water from getting underneath.
Finally, a ridge cap should be installed along the top peak of the roof. This metal piece covers the gap where both sides of the roof meet and helps with ventilation while protecting from rain, snow, and wind. Make sure it’s centered, overlaps both sides evenly, and is screwed down securely.
Safety Tips for Installing Metal Roofing
When installing metal roofing, safety should always come first. It’s best to work on dry days because metal can become extremely slippery when wet, which increases the risk of accidents.
Always wear gloves and long sleeves when handling roofing panels, as their sharp edges can cause cuts or scrapes.
Using a safety harness is a smart idea if you’re working on a steep or high-off-the-ground roof. It provides extra security and peace of mind while you move around.
Use a sturdy ladder and make sure it’s securely placed before climbing. If possible, have a second person assist you with handing tools or materials; it reduces the need to climb up and down repeatedly.
Always double-check that your tools are secure and properly stored to prevent them from falling, which could cause injury or damage.
Also, try not to rush the process. Taking your time and working safely is not only smart but also the best way to install a metal roof without costly repairs or injuries.
Conclusion
Installing a metal roof may seem like a big job, but with the proper planning, tools, and safety steps, it’s something many homeowners can handle on their own. Every step plays a role in metal roof installation, from measuring and removing old roofing to laying underlayment and securing the panels. If done correctly, metal roofing can last for decades with minimal maintenance. But if you’re unsure or the project feels overwhelming, don’t hesitate to call a expert roofers in brighton. A safe and properly installed roof is always worth it.
FAQs
Can a metal roof be installed over shingles?
Yes, metal roofs can be installed over shingles if the structure underneath is in good condition. However, it’s best to check with local building rules and a roofer first.
How long does a metal roof last?
A properly installed metal roof can last 40 to 70 years. It depends on the material used and how well it’s maintained over time.
How much does it cost to install metal roofing?
The average cost to install metal roofing ranges from $7 to $14 per square foot, depending on the material and labor costs in your area.
Which metal sheet is best for roofing?
Aluminum and Steel sheets are popular for roofing due to their durability, corrosion resistance, and energy efficiency.
Are metal roofs better than shingle roofs?
Metal roofs last longer, resist harsh weather, and are more energy-efficient. Shingle roofs are cheaper upfront, but they need more frequent replacement.